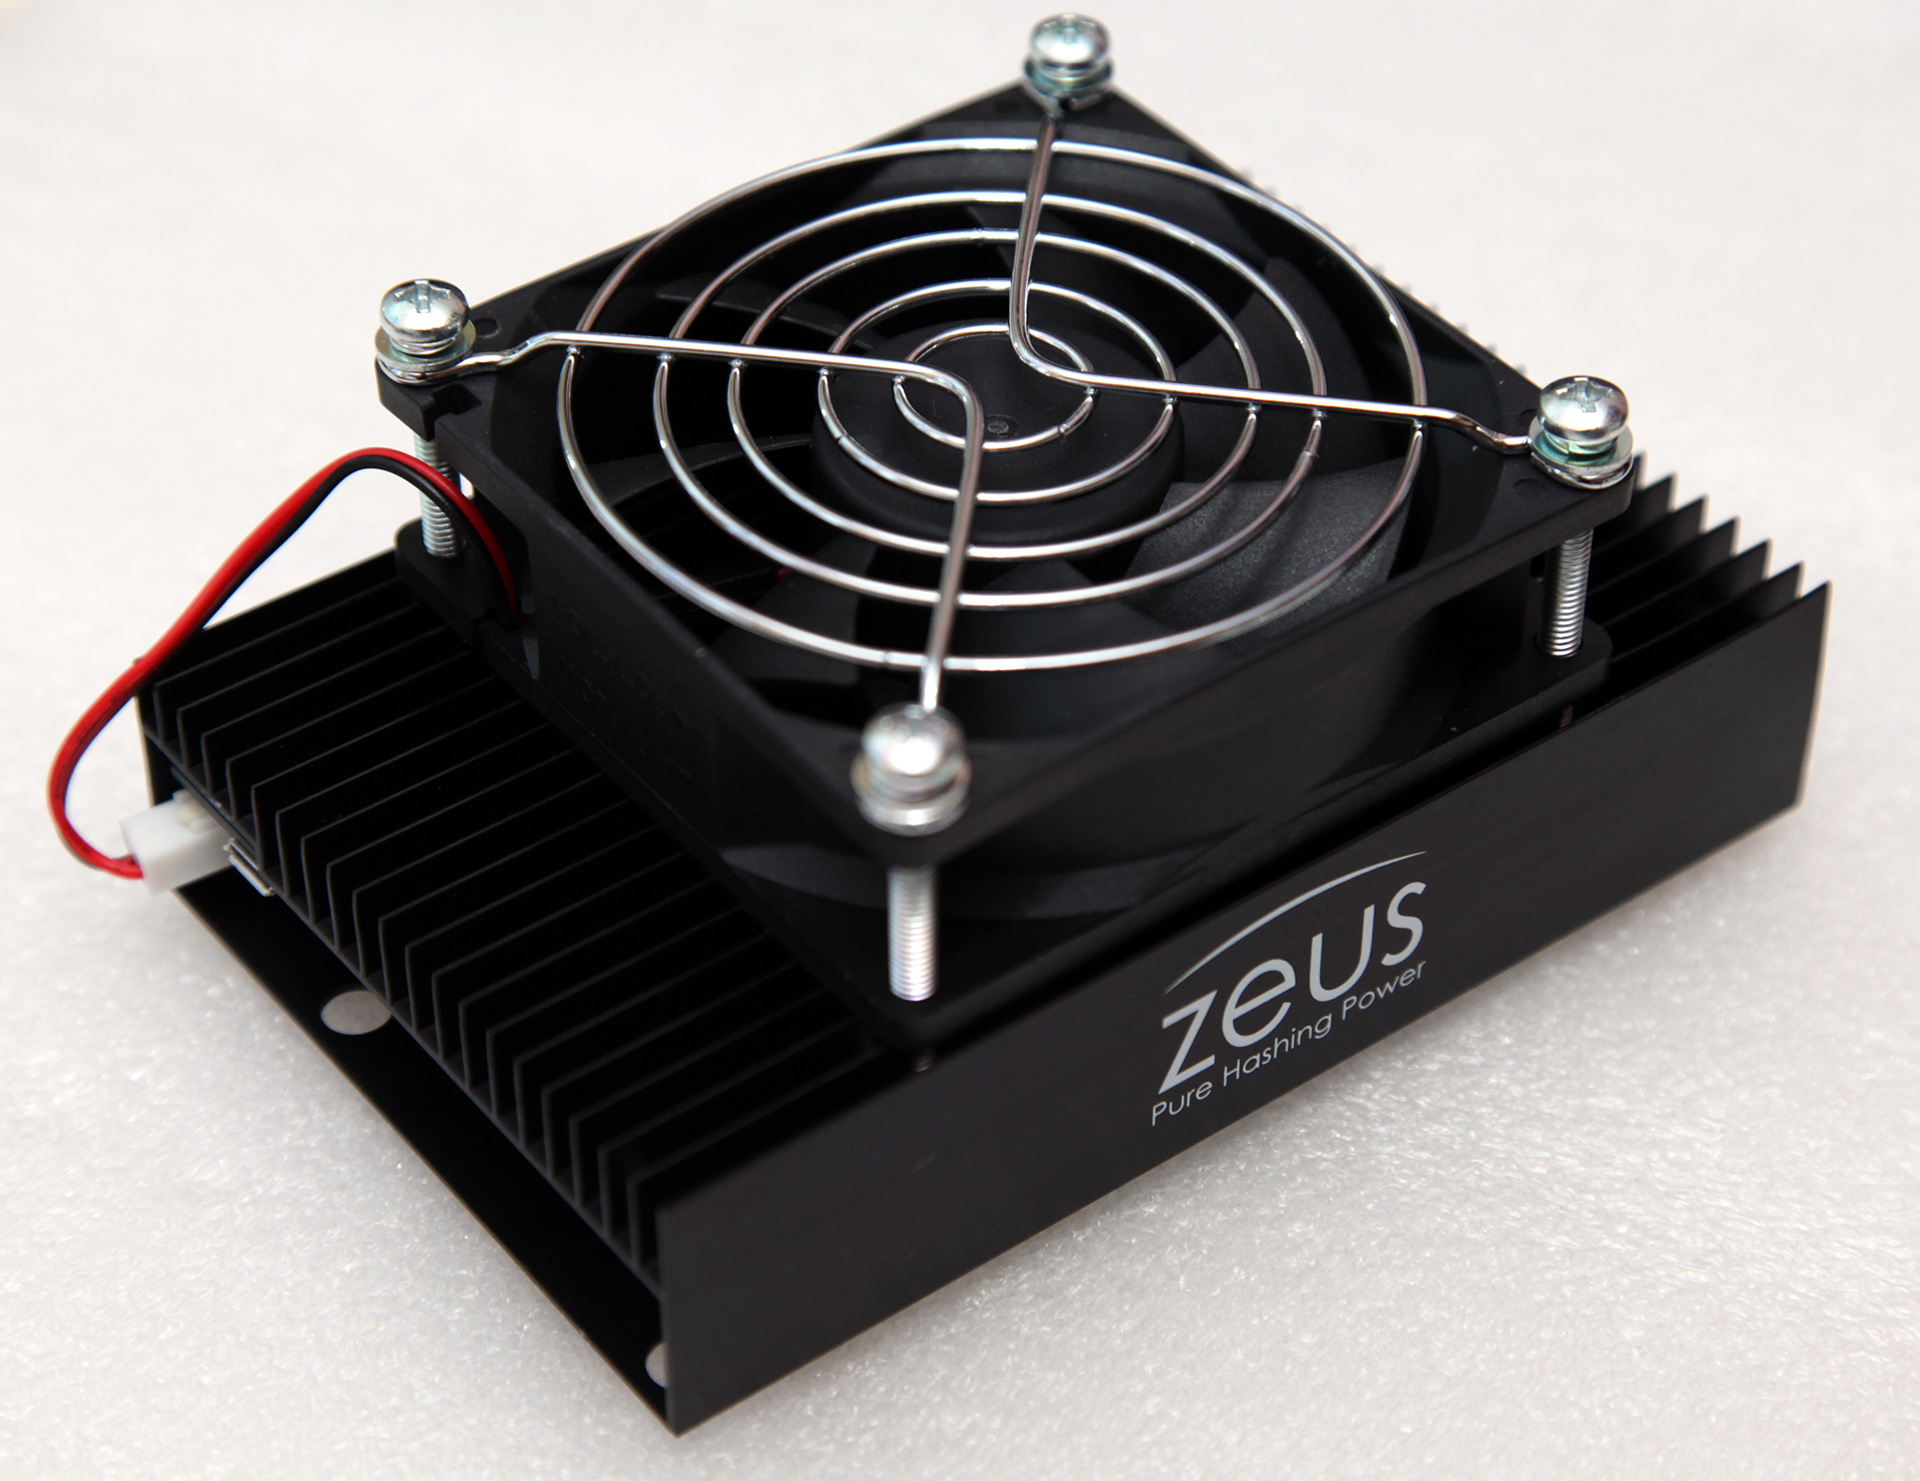
Despite a lot of people claiming that mining cryptocurrency is dead and no longer profitable, it is still a fun thing to participate with and so I picked up a Zeusminer Blizzard (pictured below) on eBay to use with my Raspberry Pi to mine some Dogecoin.
If you’ve made it to this guide, I’m going to assume you’re relatively familiar with mining and what devices such as the Zeusminer Blizzard are for and are simply wanting to get it working, so I’ll skip over that introduction and get straight to how to set up this miner using a Raspberry Pi.
Setting up the prerequisites
The first thing you’ll need to do is install Raspbian on to your Raspberry Pi. If you have not done this before head over to http://www.raspberrypi.org/documentation/installation/installing-images/ for information on how to do this. I highly recommend using NOOBS to do this; it will make your life a lot easier!
Once Raspbian is setup, boot into the command line and plug a keyboard and your miner into the Pi and start by first ensuring that your package list is up to date and that you have the latest versions of the installed packages with this command:
sudo apt-get update && sudo apt-get -y upgrade
Once the update and upgrade is finished we need to ensure that we have the latest kernel and firmware updates. Why you ask? There was previously a bug that would prevent some USB devices being listed in /dev. In the context of this guide, it may prevent our miner showing up as /dev/ttyUSB0 and thus result in bfgminer not being able to find the device.
To perform the updates, enter the following command:
sudo rpi-update
Now restart your Raspberry Pi using the following command to ensure the latest updates are in use:
sudo shutdown -r now
Next, we’ll need to install a number of packages to allow us to clone the bfgminer source code, configure and compile it. Issue the following command to install the required dependencies:
sudo apt-get -y install git-core build-essential autoconf automake libtool pkg-config libcurl4-gnutls-dev libjansson-dev uthash-dev libncursesw5-dev libudev-dev libusb-1.0-0-dev libevent-dev libmicrohttpd-dev libc-bin
Setting up bfgminer
Now we’re ready to grab the source code! I’m currently running a fork by Darkwinde that I know to be working with the Zeusminer Blizzards. If you want to use a more recent fork I cannot guarantee compatibility or that the launch parameters will be the same.
To clone the source code to your home directory, run this command:
cd ~/ && git clone https://github.com/Darkwinde/bfgminer.git
Next up we need to build bfgminer, which can take quite some time, so probably best to grab a coffee or something to eat whilst you wait. Start by entering the bfgminer directory that was just created by the cloning process and run autogen.sh:
cd bfgminer
sudo ./autogen.sh
Next, ensure the configuration script is executable and run it.
IMPORTANT: the CFLAGS value contains the capital letter O, not the number zero.
sudo chmod +x ./configure
sudo ./configure CFLAGS="-O3" --enable-scrypt
Now run the make command:
sudo make
And now install:
sudo make install
And finish up with:
sudo ldconfig
Setting up a bfgminer configuration and executing
We’re almost there now! If you haven’t already, plug in your miner and ensure it is being recognised by running:
lsusb
The output from this should look something akin to the below:
pi@raspberrypi ~ $ lsusb
Bus 001 Device 002: ID 0424:9514 Standard Microsystems Corp.
Bus 001 Device 001: ID 1d6b:0002 Linux Foundation 2.0 root hub
Bus 001 Device 003: ID 0424:ec00 Standard Microsystems Corp.
Bus 001 Device 004: ID 10c4:ea60 Cygnal Integrated Products, Inc. CP210x UART Bridge / myAVR mySmartUSB light
If you can see the device I have as device 004 then we’re good to go. If not, try another USB cable or power supply to the miner to ensure the connection is OK and that sufficient power is being provided.
Now, run bfgminer using the following command, replacing the parts in curly braces with the appropriate information:
bfgminer --scrypt -o stratum+tcp:// -u -p --zeus-cc 6 -S zeus:/dev/ttyUSB0
The --zeus-cc parameter specifies the number of chips that are available in our miner; in the case of the blizzard this is 6, if you’re using a different model you’ll need to ensure you enter the correct number.
And that’s it, you should now be successfully mining!
If bfgminer fails to find your device, run the following command to find possible devices:
ls -l /dev/ttyUSB*
If you have more entries, try replacing ttyUSB0 with the appropriate number. If this returns no results then it means Raspbian is failing to pickup your device, which is why we installed the latest kernel and firmware updates earlier. If you skipped that step and are having this problem please be sure to go back and do it.
Optional steps
Below are a few extra things you may be interested in doing, but are not required in order to run bfgminer.
Running on boot
If you want to run bfgminer when your Raspberry Pi boots up in case of a power cut or any other event that would cause it to reboot, first install screen:
sudo apt-get install screen
This program, if you’re not familiar with it, will allow us to run bfgminer on a separate screen and detach it and reattach it as we please.
Next, we’re going to use crontab to setup our bootup command, to do this run:
crontab -e
Make sure you do not sudo this command, as if you do you’ll be editing the tasks to be run by root, not pi. Now, add the following to the bottom of the file:
@reboot /usr/bin/screen -dmS bfg /home/pi/bfgminer/bfgminer --scrypt -o stratum+tcp:// -u -p --zeus-cc 6 -S zeus:/dev/ttyUSB0
Now when your Raspberry Pi reboots, bfgminer will be launched in a screen that you can reattach to at any time by running:
screen -r bfg
To detach from that screen again, simply press CTRL + A + D.
Running Multiple Zeusminers
If you want to run multiple Zeusminers, simply replace -S zeus:/dev/ttyUSB0 with -S zeus:all and bfgminer will search for all available Zeusminers for you. This is also a possible solution if you’re struggling to identify the device to pass in.
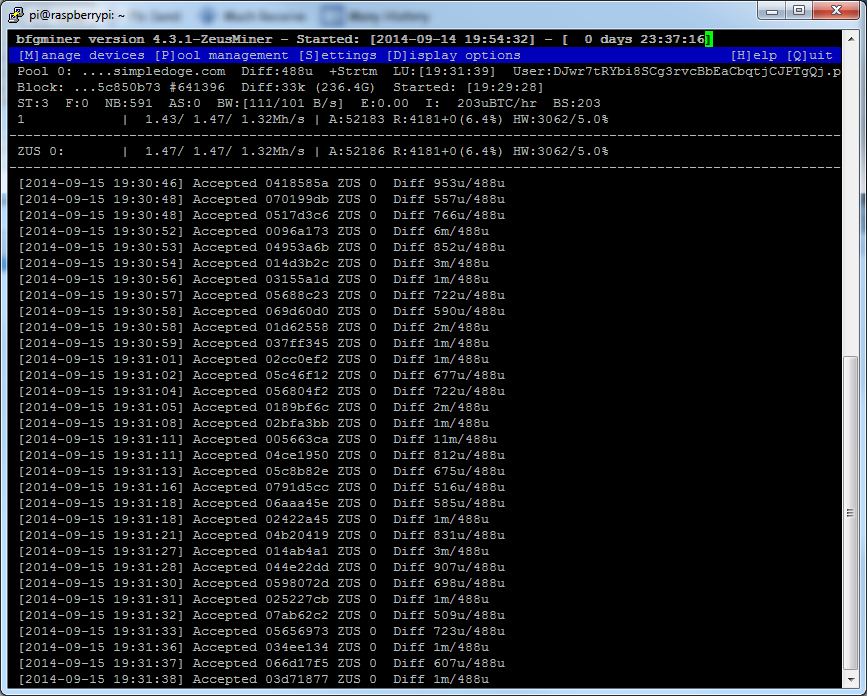
Creating a configuration file
If you are intending to run bfgminer manually rather than on boot in the background, it may be useful to create a configuration file rather than issuing the full command each time. To do this, press the S key when on the main bfgminer screen pictured below.
Now, you’ll be on the settings screen, as per the screenshot below.
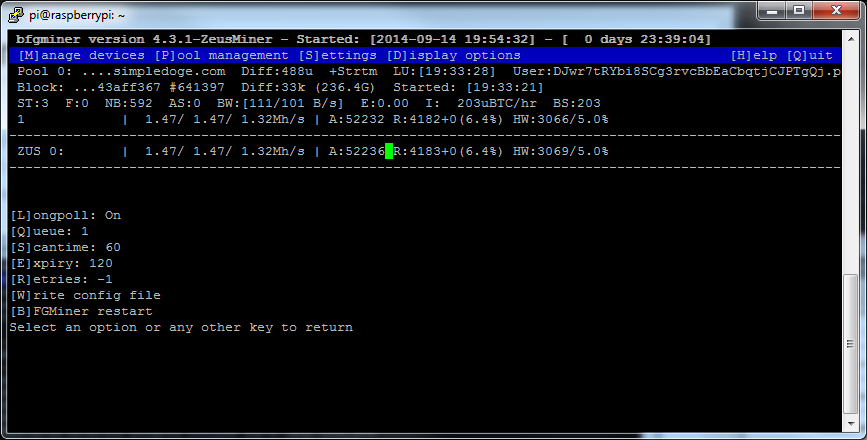
Press the W key on your keyboard and enter the path where you wish to save your configuration file to.
Now when you want to launch bfgminer using these settings you can do so by running:
bfgminer --config /path/to/your/config_file