Extending further on the previous guides I have written on utilising HD44780 based LCD screens with an Arduino, I am going to show you how to print custom glyphs / characters by using the Glyphduino library.
Prerequisites
The first step you should take is to read the previous guide on Using a JHD162A LCD Screen with an Arduino Uno as we will be using the same wiring in this guide.
Once you have done that, head over to the Glyphduino Website and follow the instructions on installing the library.
The Code
Now that the library is installed, open up the Arduino IDE and copy and paste the following sketch:
#include <LiquidCrystal.h>
#include <Glyphduino.h>

// Setup a LiquidCrystal object as one normally would.
LiquidCrystal lcd(12, 11, 5, 4, 3, 2);

// Setup a new Glyphduino object, passing in a reference to the LiquidCrystal
// object that we have also created.
Glyphduino* glyph = new Glyphduino(&lcd);

void setup() {
  // Setup the number of columns and rows that are available on the LCD.
  lcd.begin(16, 2);

  // Register the heart glyph in register zero. The register number passed to this function must
  // be between 0 and 7, giving a total of eight possible glyphs to be registered at any one time.
  glyph->registerGlyph(0, GLYPHDUINO_HEART);

  // Set the cursor to the first character of the first line.
  lcd.setCursor(0, 0);

  // Print a message that uses the heart glyph. If no column and row are passed to the printGlyph
  // function, then the glyph will be printed at the next cursor position. If we wanted to print
  // the glyph in the 5th column of the first line we would call printGlyph(GLYPHDUINO_HEART, 4, 0);
  lcd.print("We ");
  glyph->printGlyph(GLYPHDUINO_HEART);
  lcd.print(" Glyphduino!");
}

void loop() {
}
A Primer to Pointers
There are comments in the code to give a summary of what we are doing at each point, but for those who aren’t too familiar with C++, some of the syntax may be a bit confusing as it differs some what to what you may be used to; in particular the use of ->, * and &.
When an object is declared with an asterisk (*) preceding the name, it is being declared as a Pointer. A pointer is as the name suggests - something that points to a specific memory location, in this case it points to the location of where we have our Glyphduino object.
When we create our Glyphduino object, we pass in the LiquidCrystal object that we have created with an ampersand (&) preceding the name; this is what is known as a reference operator and allows us to pass the address in memory that the LiquidCrystal object is stored at, rather than passing a copy of it. The reason behind this is that we then only have a single LiquidCrystal object in memory rather than having two of them for the sake of using Glyphduino. It makes for a simpler means of using it and is more memory efficient.
And last but not least, the -> operator is simply the equivalent of using the . operator on pointers. For example, if our object called lcd was a pointer, we would use lcd->print("some text"); as opposed to lcd.print("some text");.
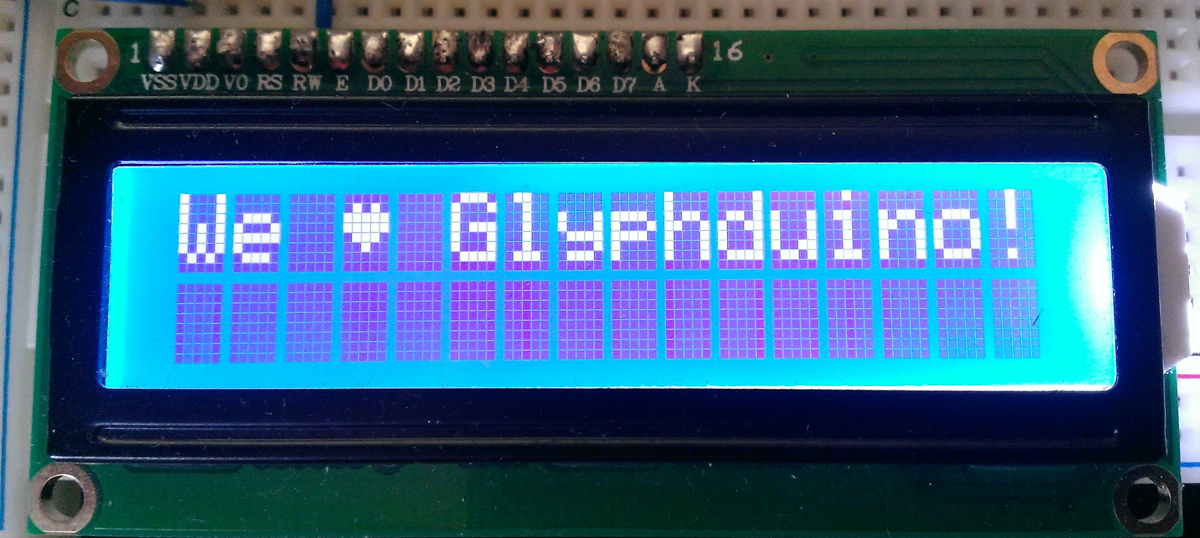
Now that we understand what the code is doing, upload it to your Arduino and you should have something akin to the below photograph:
Noteworthy Points
As mentioned in the comments of the code, only eight glyphs can be registered at a time due to the memory limitations of these LCD modules, however given the screen space, this will most likely be more than enough for most projects!
In addition to the printGlyph function that we used in this example, there is also an overloaded version that allows us to specify the position to print the glyph, like this:
glyph->printGlyph(GLYPHDUINO_HEART, 3, 0);
The above code would print the heart glyph in the 4th column of the 1st row (remember that these numbers are zero based, so the first is always zero).